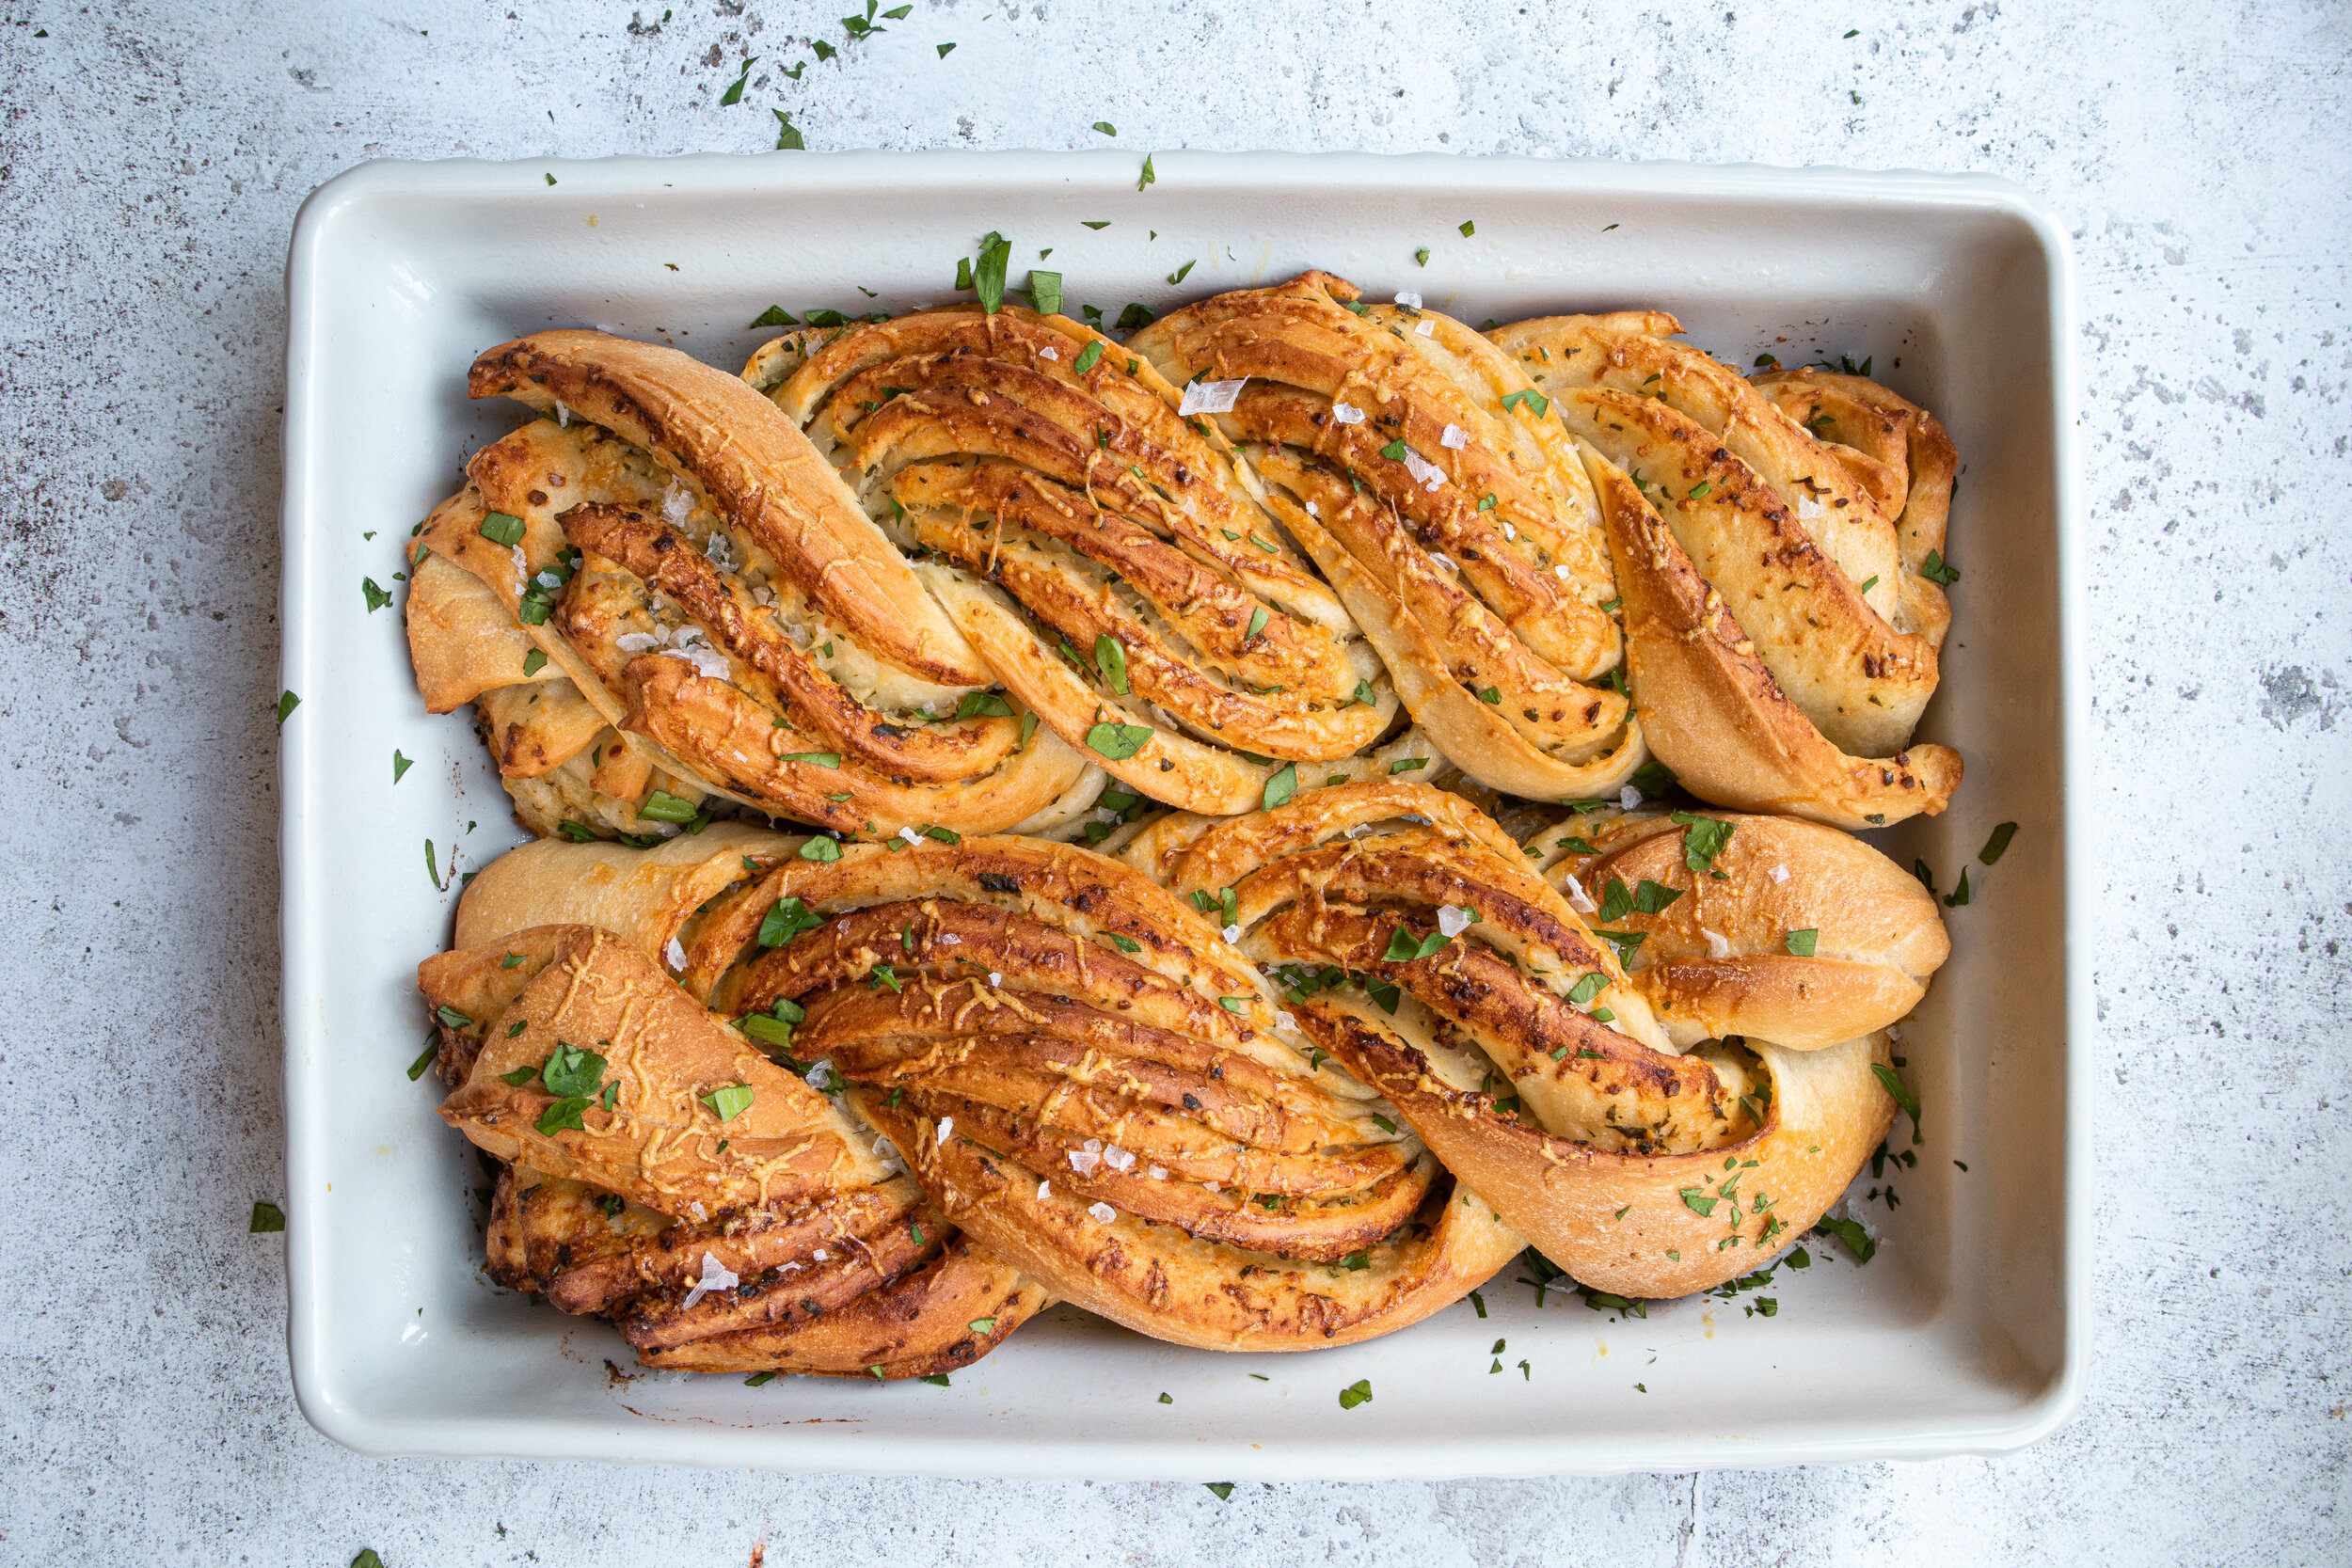
Garlic Bread Twists.
I must admit I am all about that sweet life, but sometimes you just need carbs in a savory form. And what better way then Garlic Bread? So taking a small departure from cake I wanted this week’s recipe to be different, but still very easy and as always very tasty!
Perfect for a starter, or to accompany a main dish, this is bound to impress at a dinner party or BBQ! As always it is very customizable, add cheese, add spices, and play with herbs! Pesto and sundried tomatoes added to the mix is a wonderful shout! The base recipe stays the same, you can even make it vegan and use vegan spread or even garlic olive oil instead of butter!
Have fun and don’t blame me for the wonderful garlic breath you’ll have after! At least Vampires will leave you alone!
Ingredients
For the Dough -
500 g strong white bread flour
300 ml lukewarm water
1 sachet instant yeast
1 tsp fine salt
2 tbs olive oil
For the filling –
200 g unsalted butter, softened
2 tsp garlic powder
4-5 cloves of garlic, finely chopped or crushed
1 tsp salt
2-3 tbs finely chopped fresh parsley.
Method
1 –
Add your flour, salt and yeast into the bowl of a stand mixer or large bowl if working by hand. Add your oil and water and mix on low speed until a sticky dough forms. Continue to knead for 10 mins until a smooth supple dough forms. Transfer to a greased bowl and cover in plastic wrap or a damp tea towel and place in a warm place to proof for 1 hour or until doubled in size.
2 –
Whilst the dough is proving, start preparing your filling by mixing the garlic powder with 2 tsp of water and mixing into a paste. Once done, add this as well as the crushed garlic and salt to the softened butter. Using an electric mixer or a wooden spoon, beat the butter and until smooth and the garlic is evenly mixed. Then, add your chopped parsley and set to one side covered until the dough is ready.
3 –
Once the dough is risen, turn out onto a lightly floured surface. Lightly dust the top and a rolling pin with flour to prevent sticking. Roll out the dough into a large rectangle about 1 cm thick with the long edge facing you. Ensure to keep the dough moving and dust with flour as needed so it doesn’t stick.
4 –
Once you have achieved your rectangle of dough, using a spatula or palate knife or even the back of a spoon, evenly spread the garlic butter over the dough, leaving a 1cm boarder.
5 –
Once your filling evenly covers the dough, beginning with the edge closest to you, begin to roll the dough up tightly into a large log, ensuring not to stretch the dough too much. Once rolled, even the log out and roll it to ensure it is evenly shaped.
6 –
Using a sharp lightly floured knife, cut the log in to two pieces. Set one aside. Gently slice down the length of one log to make two strips, revealing the layers of dough and butter.
With the cut side facing upwards, plait/ twist the two pieces together ensuring the cut sides remain facing up. Transfer to a greased baking dish or tray and repeat with the other half log. Cover lightly with greased plastic wrap and leave to prove in a warm place for 30-40 mins. In the meantime, preheat your oven to 200 degrees C.
7 –
Once your dough has risen and when pressed on the side a slight indent remains, place your tray in the middle of the oven, splashing some cold water in the bottom of the oven to create steam. Bake for 20 minutes and then turn the oven down to 160 and bake for a further 15-20 minutes until golden brown and cooked through. If the top is browning too fast, then you can cover with tin foil. Once baked, remove from the oven and allow to cool for 10 minutes on the tray. This will ensure any melted butter is absorbed back into the bread. Slice and serve warm, or store in an airtight container and warm in the microwave if eating at a later date. Your bread will keep for 1-2 days if kept covered in the fridge.